Essential Techniques for Landscape Drawing and Composition
Effective landscape painting always begins with a robust planning phase centered in the sketchbook. Many artworks fail to reach their potential because the artist bypassed the drawing stage, leading to structural issues in the composition. Just as a builder would never start a house without a blueprint, an artist should not approach a canvas without a foundational sketch. Drawing is not only a logistical necessity for designing a balanced scene but also an enjoyable pursuit in its own right.
Published May 13, 2026
Updated May 13, 2026
By Ava Kensington Blair
Effective landscape painting always begins with a robust planning phase centered in the sketchbook. Many artworks fail to reach their potential because the artist bypassed the drawing stage, leading to structural issues in the composition. Just as a builder would never start a house without a blueprint, an artist should not approach a canvas without a foundational sketch. Drawing is not only a logistical necessity for designing a balanced scene but also an enjoyable pursuit in its own right.
Selecting the Right Materials
To begin sketching, you need a range of graphite pencils to capture a full spectrum of light and dark tones. A standard kit should include 4H, 2H, HB, 2B, and 4B pencils. Additionally, you will need a high-quality sketchbook (A3 is a versatile size), a craft knife for sharpening, sandpaper for shaping the lead, an eraser, and an optional ruler for structural lines.
Mastering the Broad Stroke Method
One of the most effective ways to communicate the organic forms of a landscape is through the "broad stroke" method. This technique involves using a craft knife to expose approximately a quarter-inch of graphite and then filing it against sandpaper at an angle. This creates a flat, wedge-shaped tip.
When held evenly against the paper, this wedge produces uniform, wide marks that are ideal for shading large areas like hills or foliage. The very tip of the lead can still be used for fine details, but the flat side allows for a painterly, gestural quality in your pencil work. The key is to maintain a consistent angle and a steady, deliberate pace while making your marks.
Creating Depth Through Tonal Range
Depth and a sense of three-dimensional space are achieved by understanding the relationship between light and shadow. Hard pencils, such as 4H and 2H, produce lighter marks and are perfect for distant objects or subtle cloud formations. Because light appears paler in the distance, these pencils help push the background away from the viewer.
Conversely, softer pencils like 2B and 4B produce much darker, richer tones. These should be reserved for foreground elements and deep shadows. By placing your darkest values in the front and your lightest values in the back, you create a convincing atmospheric perspective that gives your drawing "room to breathe."
The Power of Thumbnail Sketches
Before committing to a final, detailed drawing, it is best to explore several "thumbnail" sketches. These are small, rapid drawings—usually taking only two to three minutes—that allow you to test different compositional arrangements. They should be drawn in the same proportions as your intended final piece. Once you have identified the most successful layout through these thumbnails, you can proceed to the full-scale sketch with confidence.
Demonstration: Rolling Hills of Northland
In this scene featuring New Zealand's characteristic pine trees and hills, the goal is to establish a clear focal point. After faintly outlining the scene with a 4H pencil, start shading the mid-tone distant trees with a 2H. For the trees in the middle distance, transition to an HB pencil to provide a darker value.
The foreground pine trees contain the darkest shadows of the piece, requiring a 4B pencil. To maintain realism, leave the areas representing grass as the white of the paper, using only light 4H strokes to suggest texture or distant slopes. This contrast between the dark trees and the bright grass highlights the intense sunlight of the region.
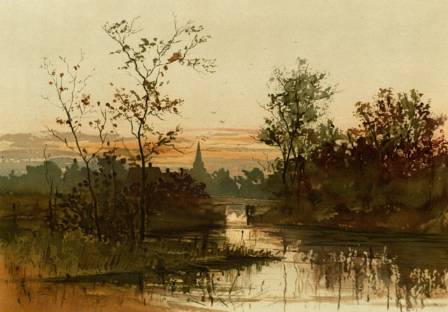
Demonstration: The Mountain River Valley
For a river valley composition, you can utilize a "steelyard" design. This involves balancing a large visual weight on one side (such as a cluster of foreground trees) with a smaller, distant weight on the other. This creates a sense of equilibrium without using perfect symmetry.
Following the light 4H outline, identify the key dark values in the cloud shadows, mountain ridges, and tree clusters. Use a 2H for the distant mountains and an HB for the middle-ground vegetation. The deepest shadows, particularly those within the poplar trees in the foreground, should be rendered with a 4B pencil to anchor the drawing. Small details like scattered wood or clumps of grass can be added last to provide a final layer of texture and realism.